Dope Card Builder
Print-ready dope card for any rifle.
Plug in your caliber, ballistic coefficient, muzzle velocity, and scope unit. Get a one-page dope card you can print on cardstock and zip-tie to your rifle. Free, no signup. Pejsa-style G1 solver under the hood.
My 6.5 Creedmoor
Loads published factory-spec data — edit any field below to match your actual chronographed velocity and bullet.
Environment + wind (advanced)
| Range (yds) | Elev (MIL) | Wind (MIL) | Drop (in) | Vel (fps) | ToF (s) | Energy (ft·lb) |
|---|---|---|---|---|---|---|
| 50 | 1.3 | 0.0 | 2.4 | 2688 | 0.06 | 2245 |
| 100 | 1.1 | 0.0 | 4.0 | 2666 | 0.11 | 2209 |
| 150 | 1.3 | 0.1 | 6.8 | 2644 | 0.17 | 2172 |
| 200 | 1.5 | 0.1 | 11.0 | 2622 | 0.23 | 2136 |
| 250 | 1.8 | 0.1 | 16.4 | 2600 | 0.28 | 2101 |
| 300 | 2.1 | 0.1 | 23.2 | 2578 | 0.34 | 2066 |
| 350 | 2.5 | 0.2 | 31.3 | 2556 | 0.40 | 2031 |
| 400 | 2.8 | 0.2 | 40.8 | 2535 | 0.46 | 1997 |
| 450 | 3.2 | 0.2 | 51.8 | 2513 | 0.52 | 1963 |
| 500 | 3.6 | 0.2 | 64.3 | 2491 | 0.58 | 1929 |
| 550 | 4.0 | 0.3 | 78.3 | 2470 | 0.64 | 1896 |
| 600 | 4.3 | 0.3 | 93.8 | 2448 | 0.70 | 1863 |
| 650 | 4.7 | 0.3 | 110.9 | 2427 | 0.76 | 1831 |
| 700 | 5.1 | 0.3 | 129.7 | 2406 | 0.82 | 1799 |
| 750 | 5.6 | 0.4 | 150.1 | 2384 | 0.89 | 1767 |
| 800 | 6.0 | 0.4 | 172.3 | 2363 | 0.95 | 1735 |
| 850 | 6.4 | 0.4 | 196.2 | 2342 | 1.01 | 1704 |
| 900 | 6.9 | 0.4 | 222.0 | 2320 | 1.08 | 1674 |
| 950 | 7.3 | 0.5 | 249.6 | 2299 | 1.14 | 1643 |
| 1000 | 7.8 | 0.5 | 279.1 | 2278 | 1.21 | 1613 |
Calculated using a Pejsa-style point-mass solver with G1 drag and ICAO standard atmosphere corrections. Accurate to ~0.5 MOA inside 700 yards for typical match loads; verify with your own chronograph and range sessions before relying on these numbers at distance. Real-world validation always beats theoretical math.
What is a dope card?
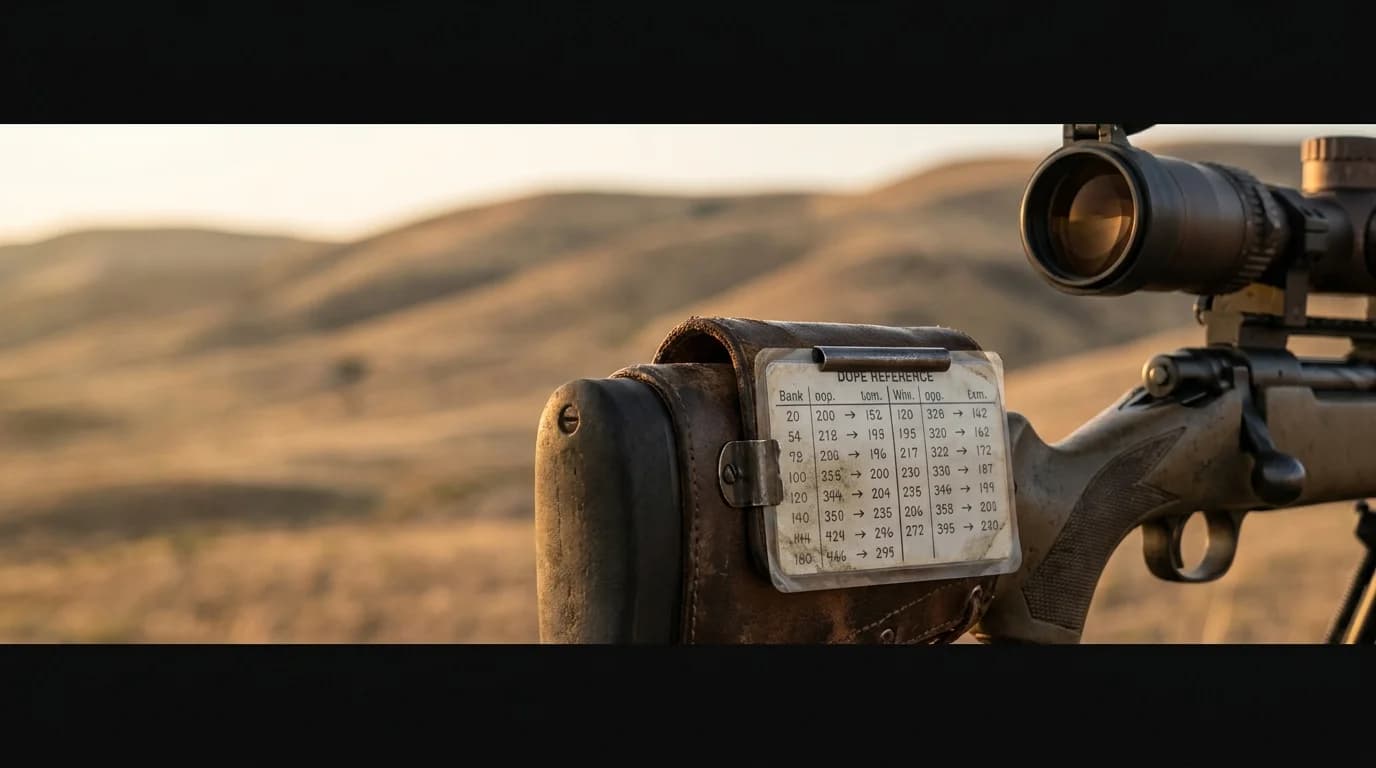
DOPE = Data On Previous Engagements. A dope card is a small reference card a precision shooter keeps with their rifle. It tells them — at a glance — what scope adjustment to dial for any distance, including wind hold. It's the interface between a ballistic calculator and the field.
Real shooters use a dope card three ways:
- As a quick reference on shots where there's no time to compute. See the target at 600 yds, look at the card, dial 2.5 mil, send it.
- As a verification log. Compare the calculator's number to what you actually hit at that distance. Adjust BC or MV in your data file until calculator and field agree.
- As a redundancy. Phones die. Apps glitch. A laminated card in your stock pouch doesn't.
What this calculator does (and doesn't) model
The math under the hood is a Pejsa-style point-mass solver with G1 drag and ICAO standard atmosphere corrections. It models:
- Drag deceleration by Mach number (G1 drag curve)
- Vertical drop from gravity over time of flight
- Crosswind drift (lag-time method)
- Air density corrections for altitude, temperature, pressure, and humidity
What it does NOT model (matters past ~1,000 yards):
- Coriolis effect (Earth's rotation, ~0.3 MOA at 1k for typical loads)
- Spin drift (gyroscopic precession, ~0.5-1 MOA at 1k)
- Aerodynamic jump from wind
- Vertical wind components
For ELR work (Extreme Long Range, > 1,200 yds), upgrade to Applied Ballistics Quantum or a Kestrel with the AB chip. For 0-1,000 yard precision rifle work, this calculator + a chronograph + an honest range session will get you within 0.5 MOA of the elite tools.
How to actually validate your dope
- Chronograph your actual muzzle velocity at the temperature and load you plan to shoot. Factory spec ≠ your barrel.
- Zero your rifle precisely at 100 yards. A 0.5 MOA zero error is 5 MOA off at 1,000 yards.
- Shoot at distance — start with 300, 500, 700 yards. Note your actual point-of-impact relative to where the dope said it should land.
- Adjust BC down (or MV down) in this calculator until the predicted drop matches your real drop. The number you back into is more useful than the published BC for your specific rifle + barrel + lot.
- Re-validate any time you swap barrels, change ammo lots, shoot in radically different temperature, or notice your hits drifting from predicted dope.
Frequently asked
Is this dope card calculator accurate?
+
It uses a Pejsa-style point-mass solver with the G1 drag function and ICAO standard atmosphere corrections. Inside 700 yards on a typical match load, results are within ~0.5 MOA of more sophisticated solvers (Applied Ballistics, JBM). Past 1,000 yards, you should validate against actual range data and consider Coriolis + spin drift corrections that this calculator doesn't model. The math is the starting point — your range session is the proof.
G1 vs G7 — does it matter?
+
For most factory match ammo, G1 is what the manufacturer publishes (Hornady, Sierra, Federal, Berger all list G1 BCs). G7 is more accurate for modern boat-tail VLD bullets, but the BC values aren't interchangeable. Plug in the BC value that's in the same format the manufacturer published. If you have a G7 BC, multiply by approximately 1.9 to get a rough G1 equivalent (not exact, but workable inside 600 yards).
Why are my real-world drops different from the calculator?
+
Five usual suspects: (1) your actual muzzle velocity differs from the factory spec — always chronograph; (2) atmospheric conditions vary from the defaults; (3) your BC is from a different bullet lot or barrel length than the manufacturer tested with; (4) scope click value isn't exact (~2% error on cheap scopes); (5) you haven't verified your zero. Take the calculated dope as a starting point, shoot it at distance, and adjust the BC or MV value until the calculator matches your real drops.
What is BC (Ballistic Coefficient)?
+
BC is a ratio that describes how a bullet sheds velocity to air drag relative to a reference projectile. Higher BC = less velocity loss = flatter trajectory + more energy at distance. A typical hunting bullet has a G1 BC around 0.4–0.5; a modern long-range match bullet runs 0.55–0.75. Manufacturers publish BCs, but they're often optimistic — Litz's independently-measured values (Applied Ballistics) typically run 5-10% lower than factory claims.
Should I zero at 100 yards or 200?
+
100 yards is the standard for precision rifle and long-range work — it's easy to verify, easy to spot impacts, and your dope card just runs in one direction (always dial up). 200 yards is common for hunting (a 'maximum point-blank' zero that hits inside a deer's vitals from 0-300 yds without holding over). For everything beyond 400 yards, 100-yard zero is cleaner.
How do I print the dope card to keep on my rifle?
+
Hit the 'Print / Save as PDF' button — it triggers your browser's print dialog. From there, choose 'Save as PDF' to keep a digital copy, or print directly. The print stylesheet strips the input form and shows just the dope table + rifle/load metadata on one page. Print on cardstock, laminate, and zip-tie or velcro to your scope/stock.
What does the wind column mean?
+
The wind hold shown assumes a 10-mph full-value crosswind (perpendicular to the bullet's path). If the actual wind is 5 mph, halve the hold. If it's a quartering wind (45°), use about 70% of the value. For headwind/tailwind, the lateral component is essentially zero — but headwinds add slightly to drop and tailwinds reduce it. You can adjust the wind speed and angle in the advanced settings.